
In a world saturated with advertising, capturing an audience's attention requires more than just a message; it demands a dynamic and visually arresting presentation. For businesses and event organizers looking to make a lasting impression outdoors or at crowded trade shows, finding the right display solution is paramount. This is where a high-quality Sharkfin Banner Template becomes an indispensable tool, serving as the foundational blueprint for creating a flag that not only stands out but also elegantly communicates your brand. These banners, with their distinctive curved top and taut, angled bottom, offer a unique silhouette that cuts through the visual noise, making them a popular choice for everything from storefront promotions to major sporting events.
The appeal of sharkfin banners, also known as shark fin flags, lies in their combination of form and function. Unlike traditional rectangular flags that can droop and become unreadable in still air, the sharkfin design is engineered to remain legible and visually appealing in any weather condition. The tensioned fabric ensures your logo and message are always on full display, while the gentle rotation in the wind creates an eye-catching movement that static signage simply cannot replicate. This inherent dynamism is what makes them so effective at drawing in potential customers and directing foot traffic.

Before you can harness this power, however, the journey begins with the design phase. A professional template is more than just an outline; it's a technical guide that ensures your creative vision translates perfectly to the final printed product. It accounts for crucial elements like bleed areas, safe zones for text and logos, and the pole pocket, preventing critical information from being cut off or obscured. By starting with a properly formatted template, you eliminate guesswork and costly printing errors, setting yourself up for a smooth process and a stunning final result that represents your brand with polish and professionalism. This guide will walk you through everything you need to know about using these templates to create effective, attention-grabbing sharkfin banners.

Understanding the Anatomy of a Sharkfin Banner
Before diving into the design process, it's essential to understand what a sharkfin banner is and what makes it different from other popular flag styles. While often grouped with feather and teardrop flags, the sharkfin banner boasts a unique shape that offers specific aesthetic and practical advantages. Its defining characteristic is a prominent curve at the top that flows down into a straight, angled bottom edge, creating a shape reminiscent of a shark's dorsal fin.

Key Components
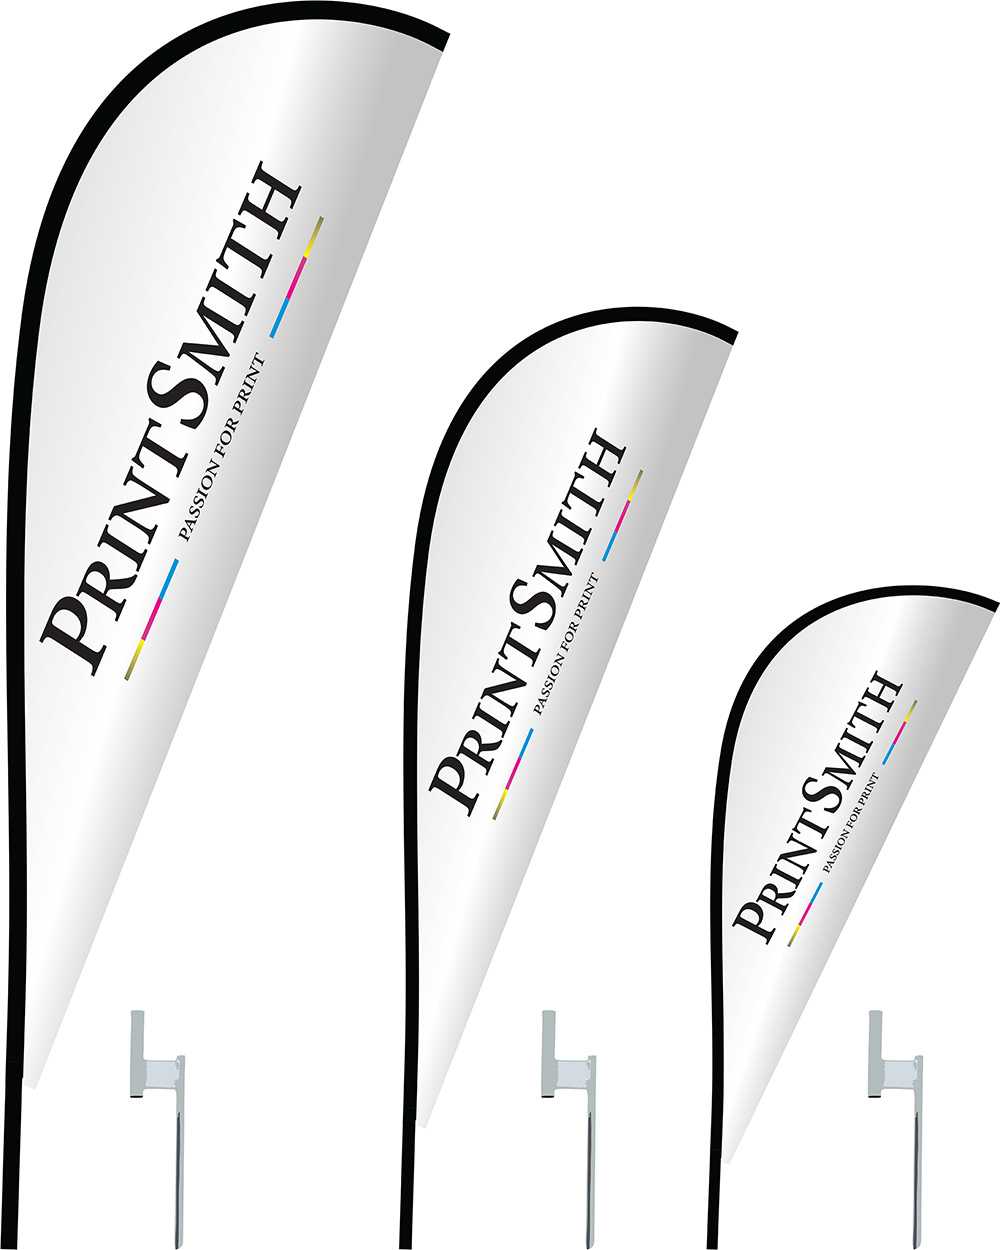
A complete sharkfin banner system consists of three primary components that work together to create a stable and visually appealing display:

- The Printed Flag: This is the custom-printed fabric that displays your branding and message. It's typically made from a durable, lightweight polyester material that allows for vibrant, full-color printing and is resilient enough to withstand outdoor conditions. The flag has a reinforced pole pocket or sleeve sewn along its edge for the pole to slide into.
- The Pole Set: The backbone of the banner is a multi-piece, flexible pole, usually constructed from a combination of aluminum and fiberglass. The flexibility of the fiberglass tip is what creates the banner's signature curve, while the sturdier aluminum sections provide height and stability. These poles are designed to be collapsible for easy transport and storage.
- The Base: The base is what anchors the entire system to the ground. There are several types of bases available to suit different environments. Common options include a ground stake for soft surfaces like grass or soil, a cross base with a water bag for stability on hard, flat surfaces like concrete, and wheel bases for easy repositioning under vehicles.
Sharkfin vs. Teardrop vs. Feather Flags
While all are considered "flying banners," there are key differences in their shapes which can influence your design choices.

- Sharkfin Banners: Offer a large, relatively rectangular print area at the bottom, which is excellent for displaying logos, text, and contact information without distortion. The curved top adds a modern, dynamic feel.
- Teardrop Banners: As the name suggests, these are shaped like an inverted teardrop. They are extremely taut and do not flap in the wind, ensuring the message is always visible. However, their unique shape can be more restrictive for certain logo and text placements.
- Feather Flags: These have a gentler curve and a bottom edge that can be straight, angled, or convex. They offer the largest printable surface area of the three and have a more traditional flag-like appearance, allowing for more movement and flapping at the free edge.
The choice between them often comes down to branding and the specific information you need to display. The sharkfin offers a perfect middle ground, providing a dynamic shape with a practical, easy-to-design-for print area.

The Strategic Advantages of Using Sharkfin Banners
Opting for sharkfin banners over other forms of signage is a strategic decision that brings a host of benefits. Their unique design and construction make them an incredibly effective tool for a wide range of marketing and promotional activities, from grand openings and sidewalk sales to festivals and corporate events.

Unmatched Visibility and Impact
The primary advantage of a sharkfin banner is its ability to get noticed. Standing tall, often between 8 and 17 feet, they rise above crowds and other visual clutter. Their distinctive shape and the natural movement created by the wind act as a beacon, drawing the eye from a distance. Unlike a static A-frame sign or a flat-mounted banner, the gentle rotation and flutter of a sharkfin flag create a dynamic element that the human eye is naturally drawn to, increasing the chances that your message will be seen and absorbed.

Durability for Indoor and Outdoor Use
Modern sharkfin banners are built to last. The flags are printed on weather-resistant polyester fabric using dye-sublimation, a process that infuses the ink directly into the material. This results in vibrant, full-color graphics that are resistant to fading from UV exposure and can withstand rain and wind. The high-quality hardware, including the flexible fiberglass poles and sturdy bases, ensures that your investment can be used repeatedly across numerous events and campaigns, delivering a great return.

Portability and Effortless Setup
Despite their impressive height when assembled, sharkfin banner systems are incredibly lightweight and portable. The sectional poles collapse down to a compact size, and the entire kit—pole, flag, and base—typically fits into a small carrying bag. This makes them easy to transport in any vehicle and simple for a single person to carry. Assembly is tool-free and intuitive, usually taking just a few minutes. This convenience is a massive advantage for teams setting up for trade shows, markets, or off-site promotional events where time and resources are often limited.

Versatile Marketing Power
The versatility of sharkfin banners is another key benefit. They are equally effective indoors at a convention center as they are outdoors at a beach festival. With a simple swap of the base, you can move the same banner from a grassy field (using a ground stake) to a concrete plaza (using a cross base). This adaptability makes them a valuable asset for any marketing toolkit, suitable for promoting sales, directing traffic, increasing brand awareness at sponsored events, or simply marking the location of your business.

How to Choose the Right Sharkfin Banner Template
The success of your banner begins with selecting the correct template from your print provider. This digital file is the blueprint that your designer will use, and working with the right one is non-negotiable for achieving a professional result. A template ensures your design fits the specific size and shape of the final flag, accounting for curves, seams, and the pole pocket.

Understanding Template File Formats
Print providers typically offer templates in several standard file formats. It's important to know which one is best for your design software and workflow.

- AI (Adobe Illustrator): This is a vector format, which is the industry standard for large-format printing like flags and banners. Vector graphics can be scaled to any size without losing quality, ensuring your logo and text remain crisp and sharp. This is almost always the preferred format.
- EPS (Encapsulated PostScript): Another vector format that is widely compatible with various design programs. If you are not using Adobe Illustrator, an EPS file is often a great alternative.
- PSD (Adobe Photoshop): This is a raster, or pixel-based, format. While it can be used, it's crucial to ensure the template is set up at a high resolution (typically 150 DPI at full size) to avoid a blurry or pixelated final print. Photoshop is best for designs that are heavily photo-based.
- PDF (Portable Document Format): Some providers offer PDFs that can be opened in vector-based programs. These are useful for viewing the template's specifications and can often be directly edited in programs like Adobe Illustrator.
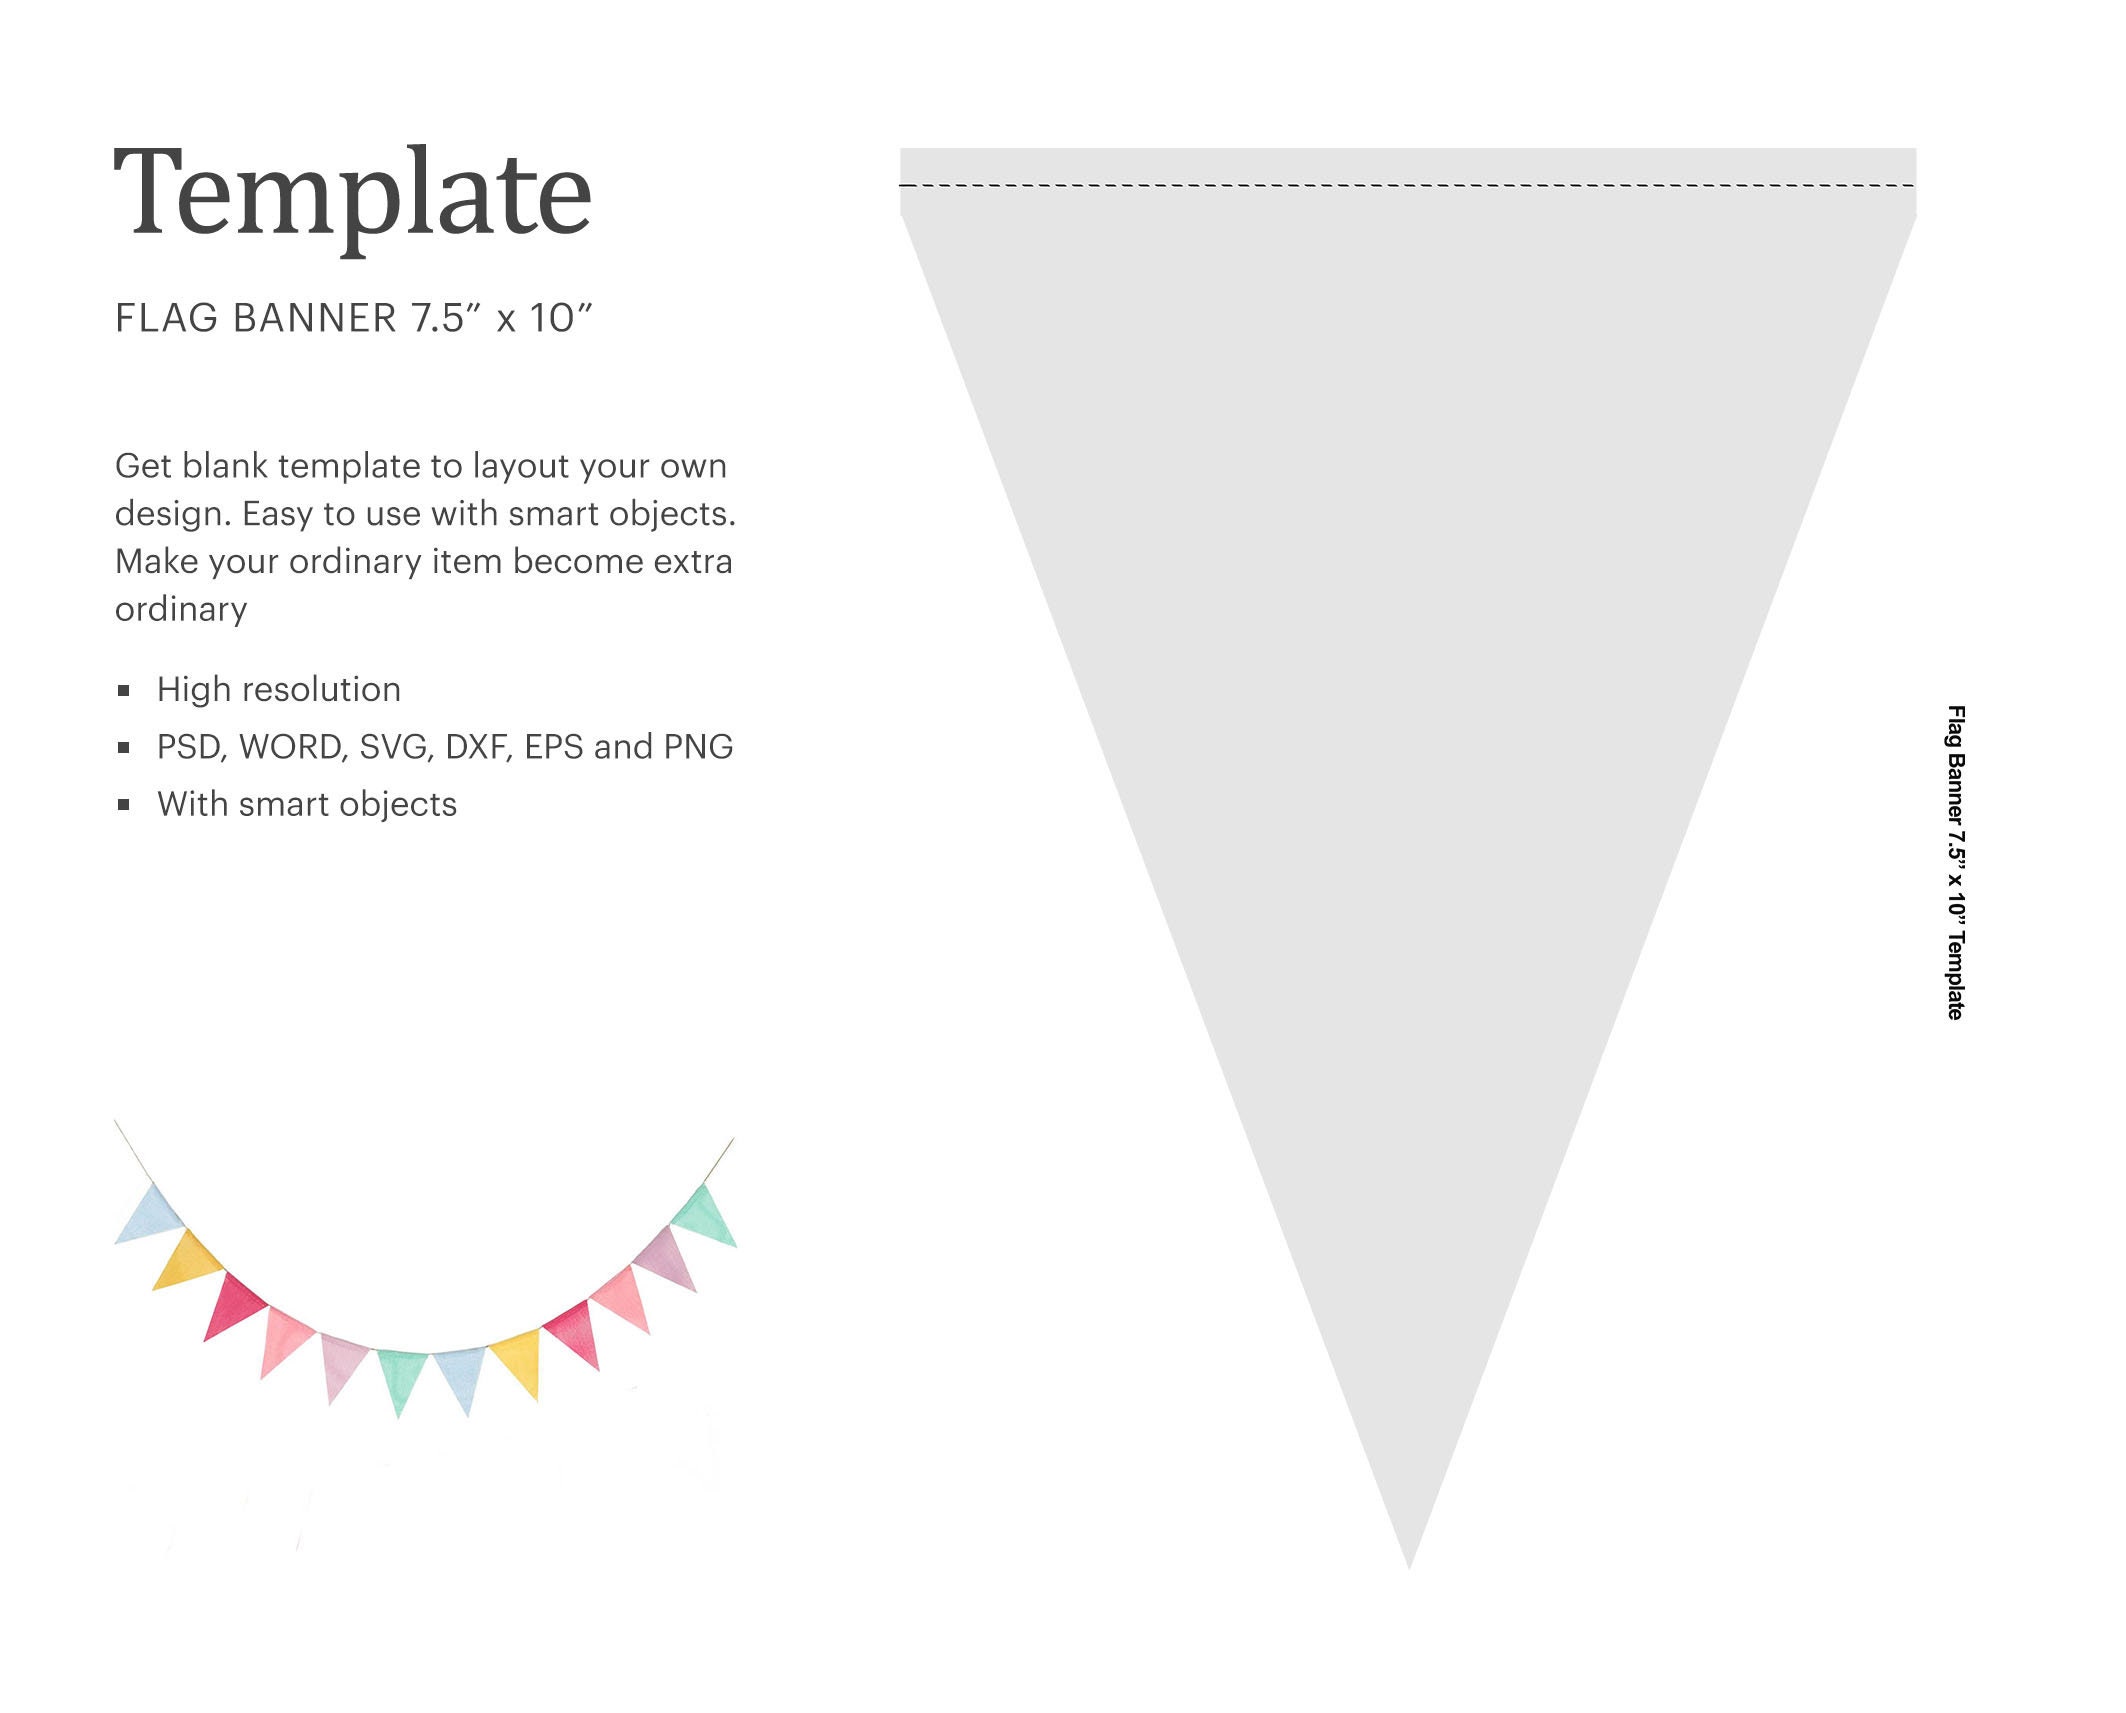
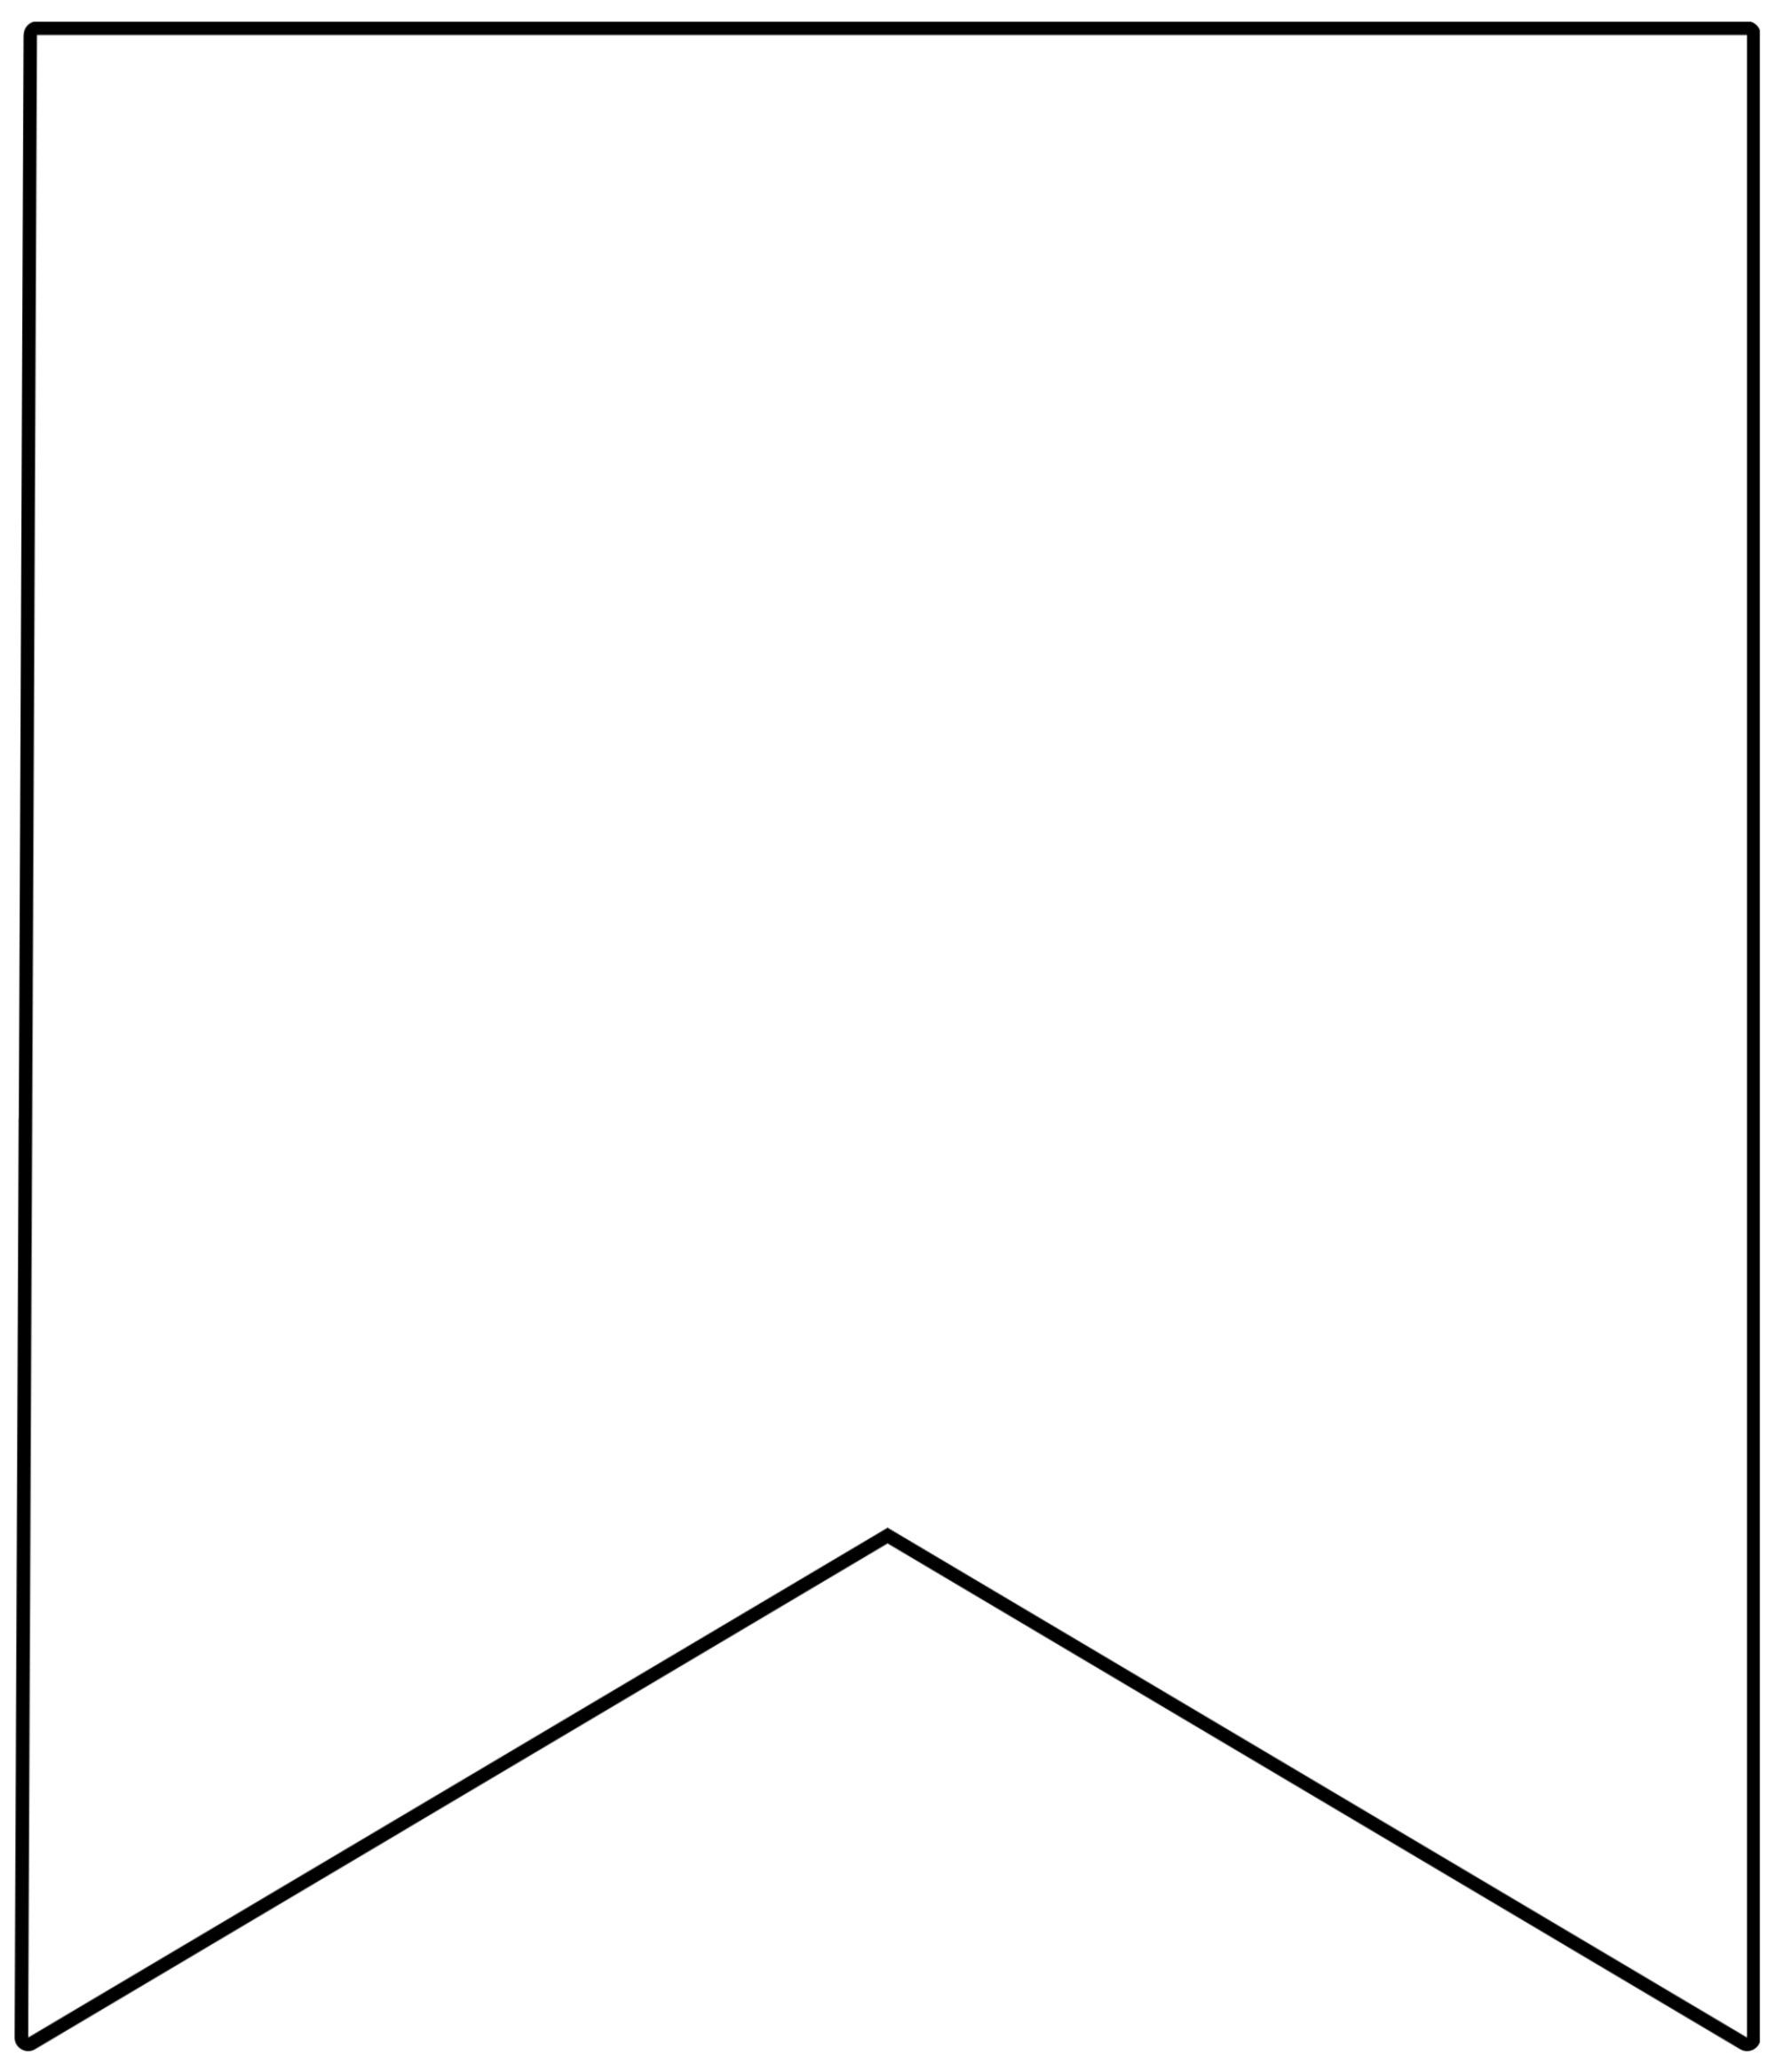
Critical Elements of a Good Sharkfin Banner Template
When you open the template file, you will see several lines and designated areas. Understanding what these mean is key to a successful design.

- Bleed Line: This is the outermost edge of the template. Any background color or image that you want to extend to the very edge of the flag must go all the way to this bleed line. This ensures that there are no unprinted white edges after the flag is cut and hemmed.
- Trim Line: This line represents where the flag will be cut to its final size. It's the actual finished edge of your banner.
- Safe Zone: This is arguably the most important area. It's an inner margin, a few inches inside the trim line. You MUST keep all critical elements—like your logo, main text, phone number, and website—within this safe zone. Anything placed outside this area risks being cut off during production or obscured by the pole sleeve or stitching.
- Pole Pocket/Sleeve Area: The template will clearly mark the area that will be folded over and sewn to create the pocket for the pole. It's essential to avoid placing any important design elements here, as they will not be visible on the final product. The background color should extend through this area for a seamless look.
Always double-check that you have downloaded the correct template for the exact size of the sharkfin banner you are ordering. A template for a 12-foot banner will not work for a 15-foot banner.

Design Best Practices for Maximum Impact
With the correct template open in your design software, it's time to create a design that grabs attention and communicates your message effectively. A banner's large format and outdoor setting demand a different design approach than a business card or website.
Color, Contrast, and Readability
The goal is to be seen from a distance. Use bold, high-contrast color combinations to make your banner pop. Think dark text on a light background or light text on a dark background. Avoid subtle, low-contrast palettes that can become washed out in bright sunlight. Align the colors with your brand identity, but choose the most vibrant and contrasting options within your brand's palette.

Keep the Message Simple and Concise
People will likely be viewing your banner from afar, often while moving. They won't have time to read paragraphs of text. Your message should be short, sweet, and to the point. Focus on a single key message. This could be your company name, a special offer ("50% Off Today"), or a call to action ("Enter Here"). Use a maximum of 5-7 words for your primary headline for instant readability.

Choose Bold, Clear Typography
Font selection is critical. Opt for clean, bold, sans-serif fonts like Helvetica, Arial, or Franklin Gothic. These are much easier to read from a distance than intricate or thin script fonts. Ensure the font size is large enough to be legible from 50 feet away or more. As a general rule, your main headline should be as large as the design will comfortably allow within the safe zone.
Use High-Resolution Graphics
If you're including a logo or a product image, it must be a high-resolution file. For logos, a vector format (.AI, .EPS, .SVG) is always best. If you must use a raster image (like a .JPG or .PNG), it needs to be at least 150 DPI at the final print size. Placing a low-resolution logo from your website onto a massive banner will result in a blurry, unprofessional final product that reflects poorly on your brand.
Design with Vertical Space in Mind
Sharkfin banners are tall and narrow. Your design should embrace this vertical orientation. Stack elements logically from top to bottom. A common and effective layout is:
- Top: Your logo for primary brand identification.
- Middle: Your main message or offer in large, bold text.
- Bottom: Secondary information like a website URL or social media handle.
This hierarchy guides the viewer's eye down the banner in a natural and organized way.
Avoiding Common Design Pitfalls
Even with a great template, certain mistakes can undermine the effectiveness of your sharkfin banner. Being aware of these common pitfalls can save you time, money, and the disappointment of a subpar final product.
Overcrowding the Design
The most common mistake is trying to say too much. A cluttered banner with too much text, multiple images, and competing information is confusing and unreadable from a distance. Remember that empty space, or "negative space," is a powerful design element. It gives your key message room to breathe and makes the entire design feel more professional and easier to digest. Edit your message down to its absolute essentials.
Forgetting About the Pole Sleeve
Designers new to flag banners sometimes forget that a significant portion of one side of the design will be covered by the pole pocket. The template clearly marks this area for a reason. Placing your logo or part of your headline in this zone will mean it's not visible when the banner is assembled. Always keep your critical content well within the designated safe area.
Poor Image Resolution
This point cannot be overstated. Using a low-resolution image is the fastest way to make your banner look amateurish. If you pull a logo from your website's header, it's almost certainly too small and low-resolution for large-format printing. You must source the original, high-quality vector or raster file for your graphics. If you're unsure, ask your printer for their specific resolution requirements and check your file's properties before submitting it.
Ignoring the Double-Sided Option
Most sharkfin banners are printed single-sided by default. This means the ink bleeds through the fabric, and the design on the back will be a mirror image of the front, often at about 80-90% saturation. For most outdoor applications where the banner is constantly rotating, this is perfectly fine. However, if your banner will be viewed from both sides in a more static indoor setting, or if having a readable, non-reversed message on both sides is crucial, you should invest in a double-sided banner. This involves printing two separate flags and sewing them together with a blockout liner in between, ensuring a crisp, correct-reading image on both sides.
Conclusion
The sharkfin banner is a powerful, versatile, and cost-effective marketing tool that can significantly boost your brand's visibility in any setting. Its unique shape and dynamic movement are engineered to capture attention, while its durable and portable nature makes it a practical choice for any event. However, the ultimate success of your banner hinges on a well-executed design, and that process begins with the proper Sharkfin Banner Template.
By understanding the components of the banner, respecting the critical guidelines of the template—especially the safe zones and bleed areas—and adhering to design best practices, you can create a display that is both visually stunning and highly effective. Remember to prioritize simplicity, high contrast, and readability to ensure your message is communicated clearly and instantly from a distance. Avoiding common pitfalls like low-resolution graphics and overcrowded layouts will ensure your final product looks professional and represents your brand in the best possible light.
From a local bake sale to a national trade show, a well-designed sharkfin banner is an investment that pays dividends in attention and engagement. By leveraging the right template and a thoughtful design approach, you can create a promotional tool that not only gets you noticed but also leaves a lasting positive impression.
0 Response to "Get Noticed Sharkfin Banner Template"
Posting Komentar