Customizing your business documents is a critical step in establishing a strong, professional brand identity. For many businesses, the ability to Export Invoice Template Quickbooks provides a level of control and flexibility that goes far beyond the standard options available within the software. Whether you're looking to collaborate with a graphic designer, ensure brand consistency across multiple platforms, or simply create a secure backup of your custom designs, exporting your template is a powerful, and sometimes necessary, function. This process allows you to take the foundational structure of your QuickBooks invoice and modify it using external tools, opening up a world of creative possibilities.
While QuickBooks offers robust tools for creating and managing invoices, its built-in customization features can sometimes feel restrictive. You might find that the font you want isn't available, the layout is too rigid, or you need to add specific marketing elements that the standard editor doesn't support. This is where exporting comes into play. It acts as a bridge between the accounting power of QuickBooks and the design freedom of external applications like Microsoft Word or professional design software. By understanding this workflow, you can create truly unique and polished invoices that reflect the quality of your brand.

Furthermore, the need to export an invoice template isn't just about aesthetics. It's also a practical consideration for business operations. Companies that are migrating to a new accounting system, setting up a new branch, or sharing standardized documents with partners can benefit immensely from having a portable template file. It ensures that everyone is using the same format, which reduces errors, streamlines communication, and maintains a cohesive brand image across all business activities. This guide will walk you through the entire process, covering both QuickBooks Online and QuickBooks Desktop, to help you master this essential skill.
This comprehensive article will explore the reasons behind exporting, provide step-by-step instructions for both major QuickBooks versions, and offer advanced tips for creating a truly custom invoice. We will also address common troubleshooting issues you might encounter along the way. By the end, you'll have a clear understanding of how to leverage the export function to create professional, branded invoices that stand out and serve your business needs effectively.
Why Export an Invoice Template from QuickBooks?
The decision to export an invoice template from QuickBooks is typically driven by a need for greater control, consistency, or collaboration. While the internal customization tools are sufficient for many businesses, there are several key scenarios where moving your template outside the QuickBooks environment becomes highly advantageous.
Advanced Customization and Branding
The most common reason to export a template is to achieve a level of design customization that QuickBooks' native tools cannot offer. The built-in editors are designed for simplicity and function, not for complex graphic design.
By exporting, you can:
* Use Custom Fonts and Typography: Incorporate your specific brand fonts that aren't available in the standard QuickBooks library.
* Create Complex Layouts: Design multi-column layouts, add background watermarks, or place graphical elements with pixel-perfect precision.
* Integrate Advanced Branding: Add custom headers, footers, and promotional banners that go beyond a simple logo. A designer can use a tool like Adobe InDesign to create a concept and then translate it into a format that QuickBooks can import.
Ensuring Brand Consistency Across Systems
Many businesses use more than one software platform to run their operations. You might use QuickBooks for accounting but a different CRM or project management tool for proposals and quotes. Exporting your invoice template allows you to create a master design that can be replicated across all your business documents. This brand consistency builds trust and presents a more professional image to your clients. When your quote, invoice, and project summary all share the same look and feel, it reinforces your brand's identity at every touchpoint.
Backup, Archiving, and Migration
Relying solely on a cloud or desktop application for your custom designs carries a small but significant risk. Having a local copy of your invoice template serves as a crucial backup. If your company file becomes corrupted, you accidentally delete a custom style, or you need to set up a new QuickBooks account, you can quickly restore your branded invoice without having to rebuild it from scratch. This is also essential for business migration. If you're moving from QuickBooks Desktop to another company file or even to a different accounting system, having an exported template file (.DES for Desktop or a .DOCX for Online) makes the transition much smoother.
Collaboration with Designers and Teams
When you need a professionally designed invoice, it's often best to work with a graphic designer. However, giving a designer direct access to your accounting software is rarely practical or secure. The export/import workflow solves this problem. You can provide the designer with a base template or a set of required fields, and they can work on the design in their preferred software (like Microsoft Word or Adobe Illustrator). Once the design is finalized and formatted correctly, you can import it back into QuickBooks. This process allows for seamless collaboration without compromising the security of your financial data.
Understanding the Two Worlds: QuickBooks Online vs. Desktop
Before diving into the "how-to," it's critical to understand that the process for handling invoice templates is fundamentally different between QuickBooks Online (QBO) and QuickBooks Desktop. They are distinct products with separate workflows.

QuickBooks Online (QBO) Customization
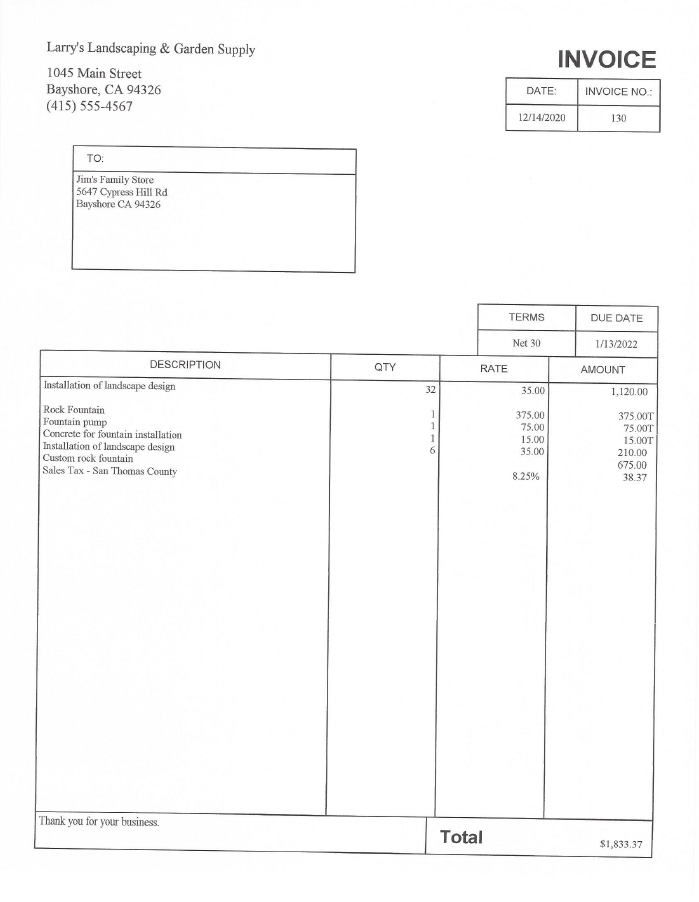
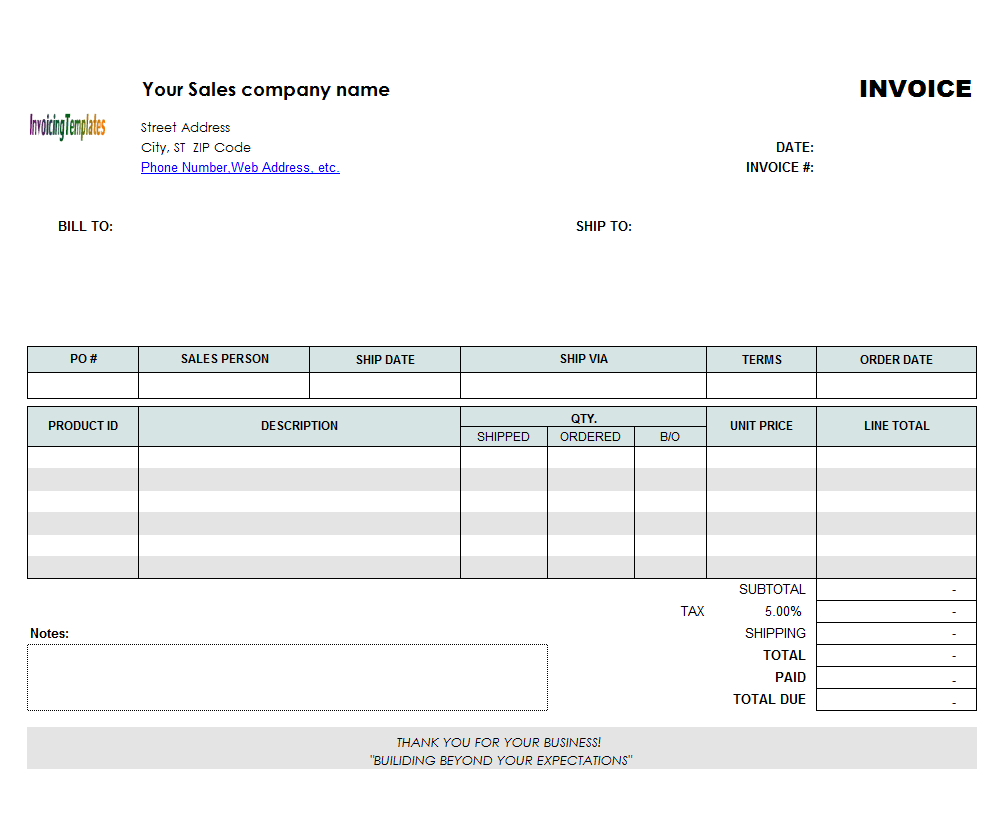
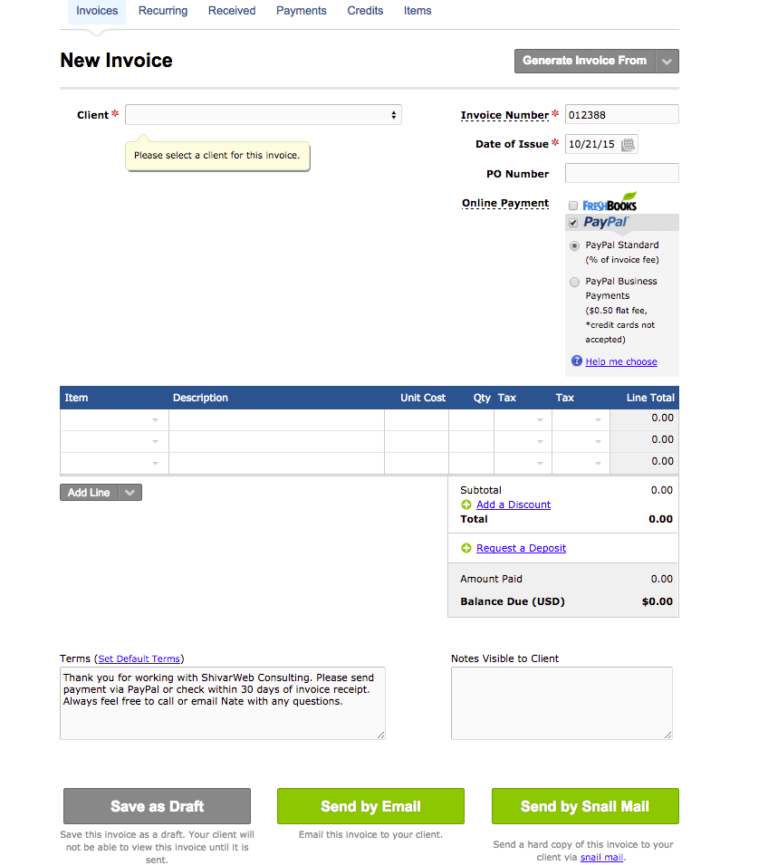
QuickBooks Online is a cloud-based service that favors simplicity and accessibility. Its invoice customization is handled through a feature called Custom Form Styles. Within this area, you can choose from a few template styles, select colors, add your logo, and turn fields on or off.
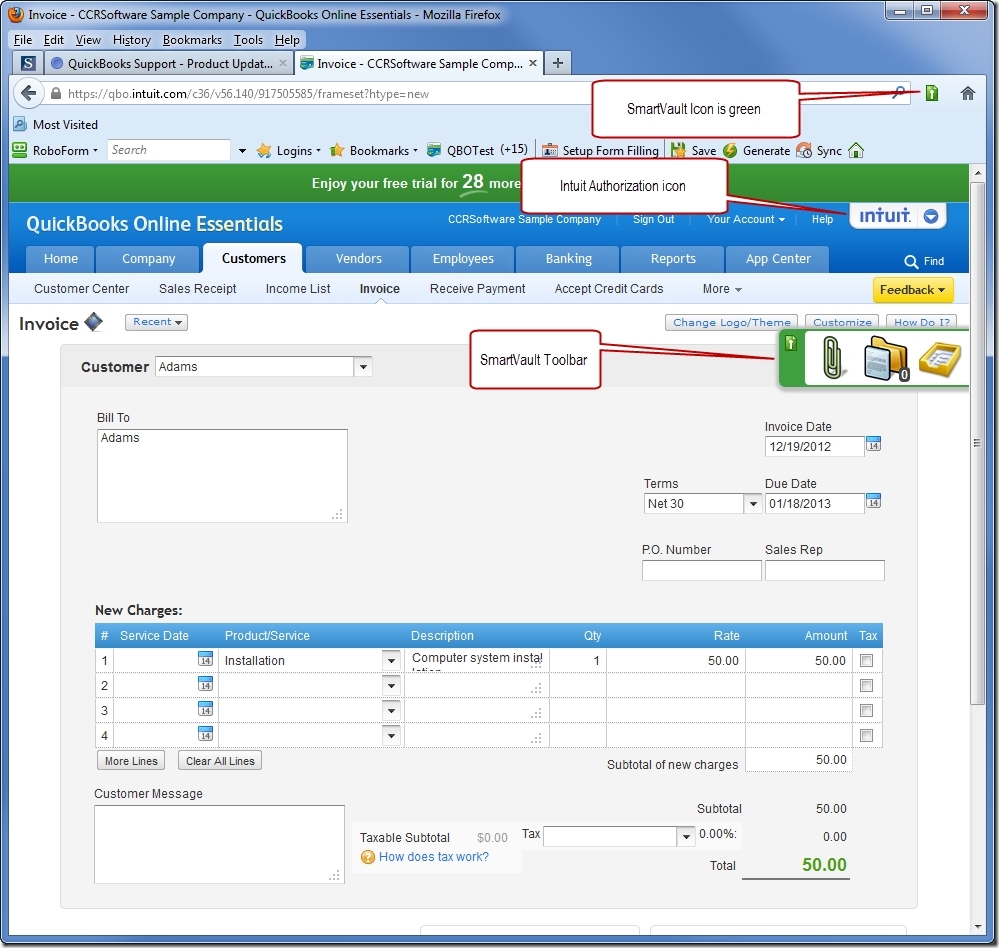
The key thing to know about QBO is that it does not have a direct "export template" feature. Instead, its advanced customization relies on an import function. You create a template externally in Microsoft Word (as a .DOCX file) with special mapping fields and then upload it to QBO. So, the process is less about exporting a current design and more about creating a new one based on QBO's structural requirements.
QuickBooks Desktop Customization
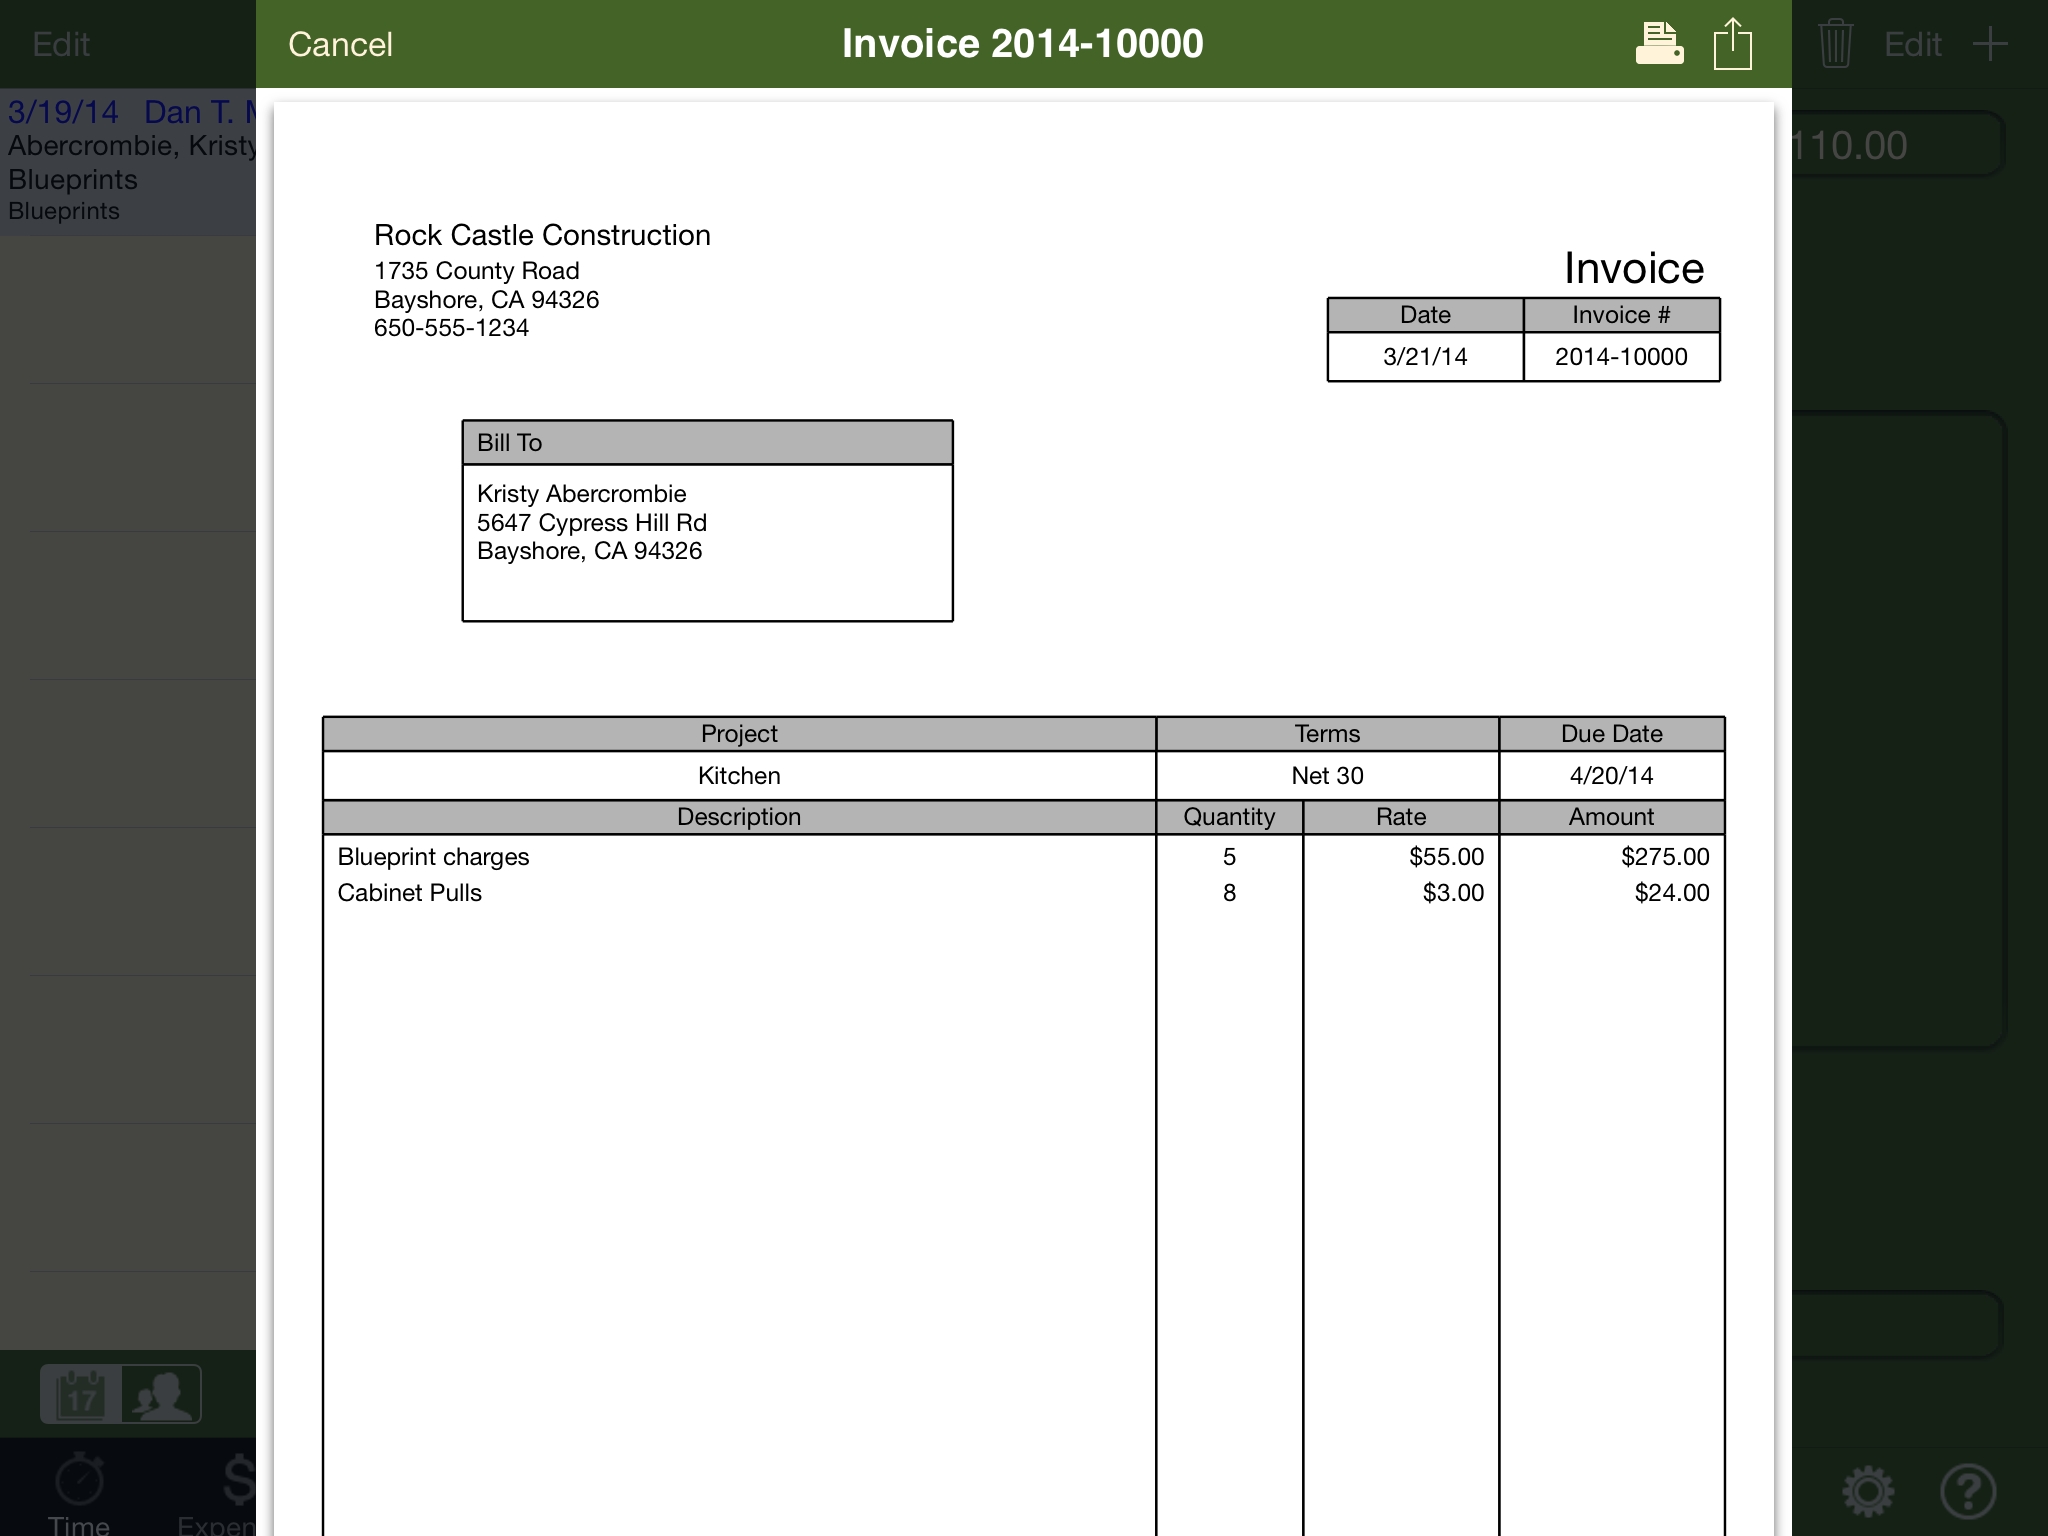
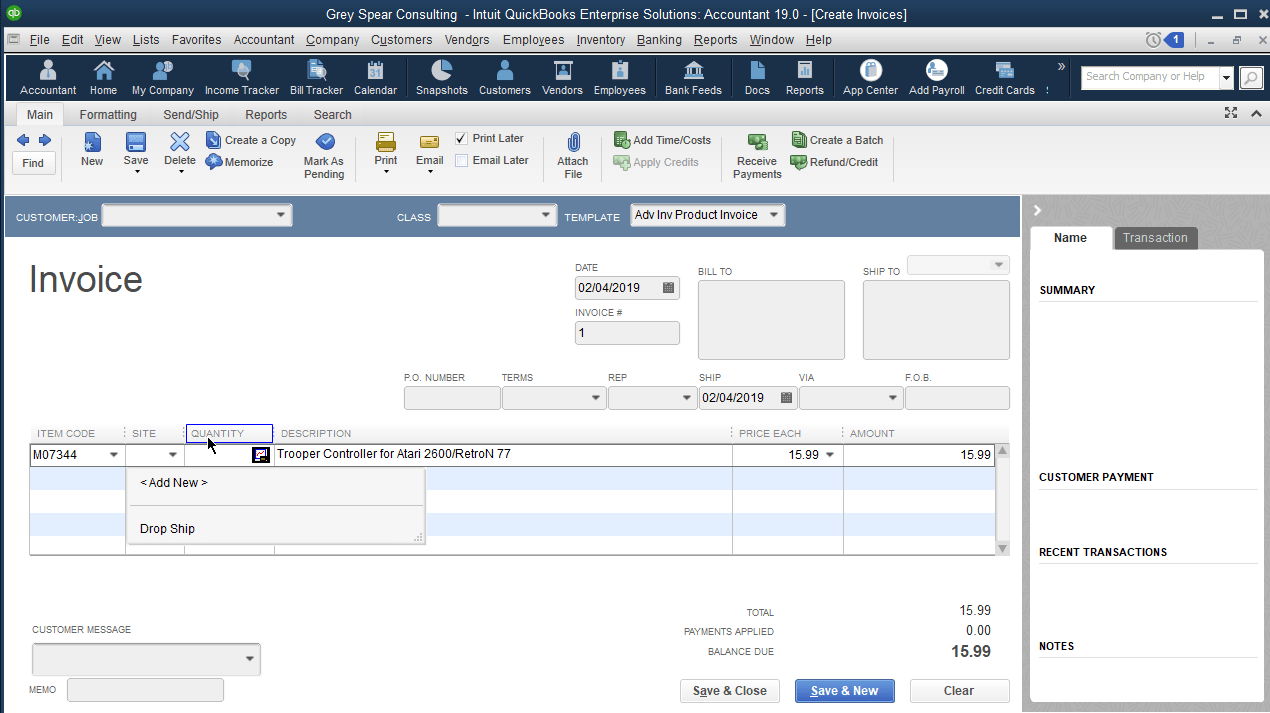
QuickBooks Desktop is a more traditional, locally installed software. It offers a significantly more powerful built-in tool for invoice customization called the Layout Designer. This tool provides a drag-and-drop interface that allows for more granular control over the placement of fields, text boxes, and images.
Because of its robust nature, QuickBooks Desktop has a true export and import feature for its templates. You can export a custom invoice design as a .DES file. This file can then be saved as a backup or imported into another QuickBooks Desktop company file, making it easy to share designs between different business entities or with your accountant.
Step-by-Step Guide: How to Export Invoice Template Quickbooks Online
As mentioned, QuickBooks Online doesn't have a direct "Export Template" button. The workflow is centered around importing a specially formatted Microsoft Word document. Here's the practical, step-by-step process to achieve a custom template.
Step 1: Download a Sample Template from QuickBooks
To ensure your custom template works, you must start with a foundation that QuickBooks understands. QuickBooks provides sample .DOCX files that already contain the correct field codes (or "mapping tags").
- Navigate to Settings (the gear icon in the top right corner).
- Under "Your Company," select Custom Form Styles.
- Click the New style dropdown button in the top right and select Invoice.
- You will be taken to the customization screen. Ignore the on-screen options for now and look for a message or link about importing styles. Click on "Or import a style" if you see it, or look for the advanced customization options.
- QuickBooks will provide a link to download a sample invoice. Download this
.DOCXfile. This is your starting point.
Step 2: Customize the Template in Microsoft Word
Now you can open the downloaded .DOCX file in Microsoft Word or another compatible editor like Google Docs.

- Understanding Mapping Tags: You will see text enclosed in angle brackets, like
<Customer Name>or<Invoice Number>. These are the mapping tags. Do not alter the text inside these brackets. These tags tell QuickBooks where to pull the data from your transaction records. You can move them, style them (change font, size, color), and place them within tables. - Add Your Branding: Insert your logo into the header. Add your company's contact information, perhaps in the footer. Change the fonts and colors to match your brand guide.
- Adjust the Layout: The core of the invoice is usually a table. You can modify this table by adding or removing columns. For example, if you don't use a "Description" field, you can remove that column. Just make sure to also remove the corresponding mapping tag (
<Description>). - Save Your Work: Once you are happy with the design, save the file as a
.DOCXdocument.
Step 3: Import Your Custom Template into QuickBooks Online
With your customized .DOCX file ready, it's time to upload it to QBO.
- Return to the Custom Form Styles page in QBO.
- Again, click New style and select Invoice.
- Find and click the option to Import style.
- You will be prompted to select a form type (Invoice) and upload your file. Click Browse and select your saved
.DOCXfile. - QuickBooks will upload the file and show you a preview. This is a crucial step to verify that your fields are mapped correctly. Check that the customer name, invoice details, and line items appear in the right places.
- If everything looks good, save your new template. Give it a memorable name (e.g., "Official Brand Invoice"). You can now set this as your default invoice style.
A Clearer Look at QuickBooks Desktop Exporting
The process for QuickBooks Desktop is much more direct because it has a native export function built for sharing and backing up templates.
Step 1: Locate Your Invoice Templates
All your form templates, including invoices, are stored in one central location.

- In the top menu bar, click on Lists.
- From the dropdown menu, select Templates. This will open a window showing all the form templates you have created or customized.
Step 2: Select and Export the Template
Find the specific invoice template you wish to export in the list.
- Right-click on the name of the template.
- From the context menu that appears, select Export.
- A "Save As" dialog box will open. Choose a location on your computer to save the file.
- Give the file a recognizable name. The file will be saved with a
.DESextension (e.g.,MyCustomInvoice.DES). - Click Save.
Your invoice template is now successfully exported. This .DES file contains all the layout information, fonts, images, and field placements you configured in the Layout Designer. You can now email this file to a colleague, save it to a cloud drive as a backup, or use it to import into another QuickBooks Desktop company file.
Advanced Customization and Best Practices
Simply knowing the steps to export or import is just the beginning. To create truly effective invoices, consider these advanced tips and best practices.
Tips for Working with .DOCX Templates (QBO)
- Keep Tables Simple: While Word allows for complex nested tables and merged cells, the QuickBooks import engine can struggle with them. Stick to simple, clean table structures for your line items to avoid formatting errors.
- Use High-Resolution Images: When adding your logo or other graphics, use a high-resolution file (e.g., 300 DPI) to ensure it looks sharp and professional on the final PDF invoice.
- Check the EZ Map Fields List: QuickBooks provides a complete list of all available mapping tags. If you need to add a field that isn't in the sample template (like a custom field), you can find the correct tag on Intuit's official support website. Search for "QuickBooks Online EZ Map fields."
- Test Extensively: Before making your new template the default, create several test invoices for different scenarios (e.g., an invoice with many line items, one with discounts, one with sales tax) to ensure your layout holds up and all data displays correctly.
Managing Exported .DES Files (QuickBooks Desktop)
- Version Compatibility: Be aware that a
.DESfile exported from a newer version of QuickBooks Desktop (e.g., 2023) may not be compatible with an older version (e.g., 2020). It's generally best to ensure both the source and destination company files are on the same version year. - Document Your Templates: If you have multiple custom templates, keep a separate document or spreadsheet that describes what each
.DESfile is for. Naming the fileService_Invoice_Blue_Logo_V2.DESis much more helpful thanInvoice1.DES.
Common Problems and Troubleshooting When You Export Invoice Template Quickbooks
You may encounter a few common issues during the import/export process. Here's how to troubleshoot them.
QuickBooks Online Import Failures
- Mapping Errors: The most common issue is an error message saying QuickBooks doesn't recognize the fields. This almost always means you have accidentally altered a mapping tag. Double-check every tag in your
.DOCXfile to ensure it exactly matches the official list (e.g.,<Billing Address>not<Bill To Address>). - File is Too Large: QBO has a size limit for imported templates (typically around 2 MB). If your file is too large, it's likely because of a very high-resolution image. Try compressing your logo or other graphics before re-inserting them into the Word document.
- Formatting Looks Wrong: If the preview in QBO looks jumbled or completely different from your Word document, it's a sign of incompatible formatting. Avoid using Word's "WordArt," complex text wrapping around images, or unusual symbols. Rebuild the problematic sections using simple text boxes and tables.
QuickBooks Desktop Template Issues
- Template Not Appearing After Import: If you import a
.DESfile but can't find it in your Templates list, try re-sorting the list or closing and reopening QuickBooks. In rare cases, the file may be corrupted, so try re-exporting it from the source. - Custom Fields Are Missing: If your template uses custom fields, you must ensure those same custom fields are set up in the destination company file before you import the template. The template only carries the layout information; it does not create the custom fields themselves.
Conclusion
Mastering the ability to Export Invoice Template Quickbooks is a skill that elevates your business from using a generic accounting tool to wielding a powerful brand communication platform. While the processes for QuickBooks Online and QuickBooks Desktop are distinctly different, both ultimately serve the same goal: to give you complete control over the look and feel of your financial documents.
For QuickBooks Online users, the journey involves creating a precisely formatted .DOCX template and leveraging the import system to bring your unique brand vision to life. For QuickBooks Desktop users, the straightforward export-to-.DES file function provides a robust method for backing up, sharing, and migrating your carefully crafted layouts.
By moving beyond the default settings, you create invoices that are not only functional but also act as a reinforcement of your brand's professionalism and attention to detail. A well-designed invoice can improve client perception, ensure consistency across your communications, and streamline your operational workflows. Armed with the knowledge in this guide, you can confidently tackle template customization and create documents that truly represent your business.
0 Response to "Export Invoice Template Quickbooks"
Posting Komentar